Beginning in 2024, I will not be doing any demonstrations until further notice. Thank you for your interest.
The future is here. I can do interactive remote demos (IRD) from my shop directly to your internet connected device (computer, tablet, smart phone, etc.). You get the best seat in the house to see my demos without having to leave the safety and comfort of your easy chair. Also, there is no expense for getting me to your meeting. During these sessions, I can host your club for a virtual club meeting over the internet where you can even have show and tell. Everyone just connects from their favorite internet connected device. It is a great way for clubs to continue to meet during these difficult times.
Below, are some of the interactive remote demonstrations I can do for your club. Please use the contact form here to inquire about schedule and cost. First, please watch this short video to see some snippets from a recent demo.
Demo Descriptions:
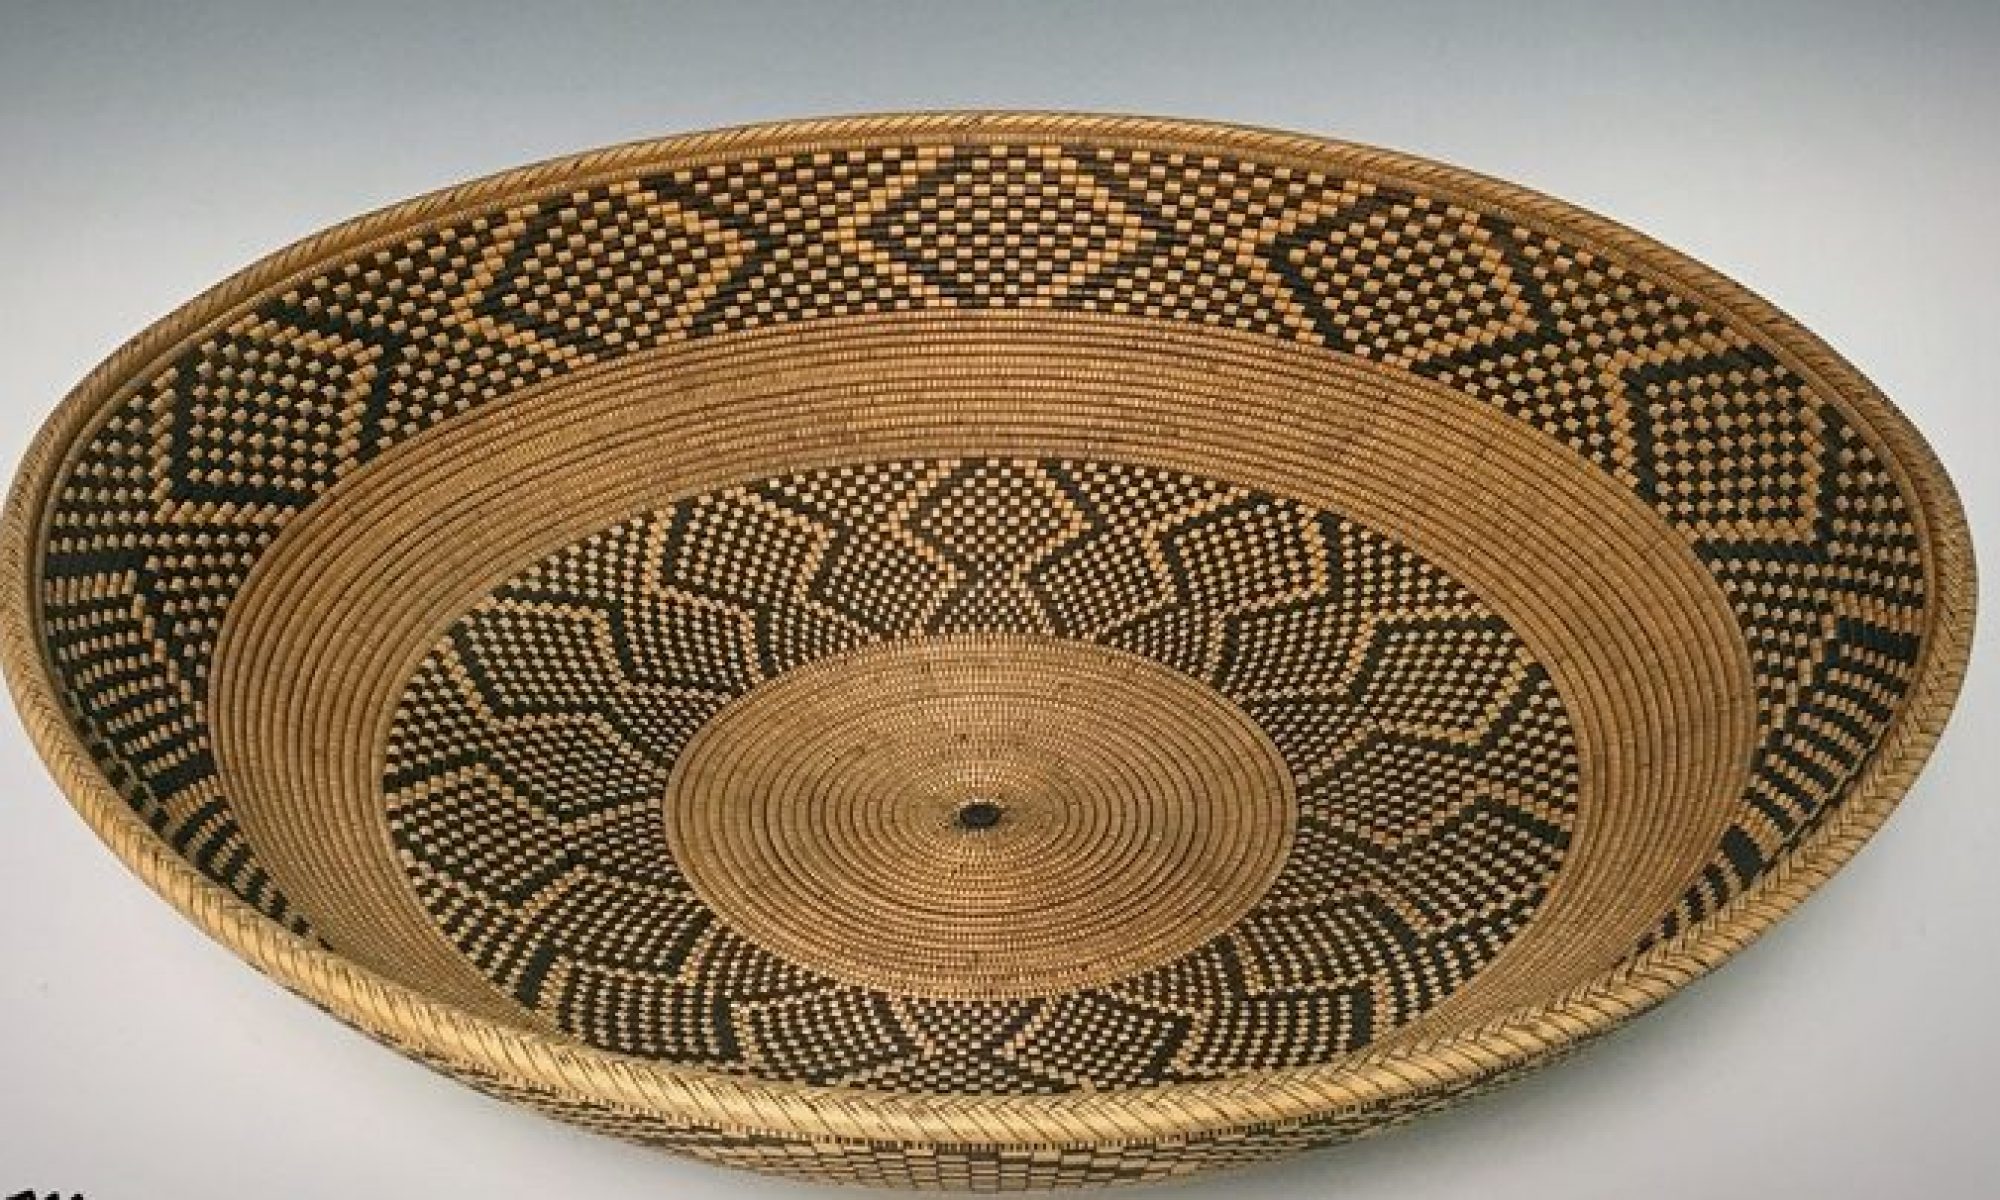
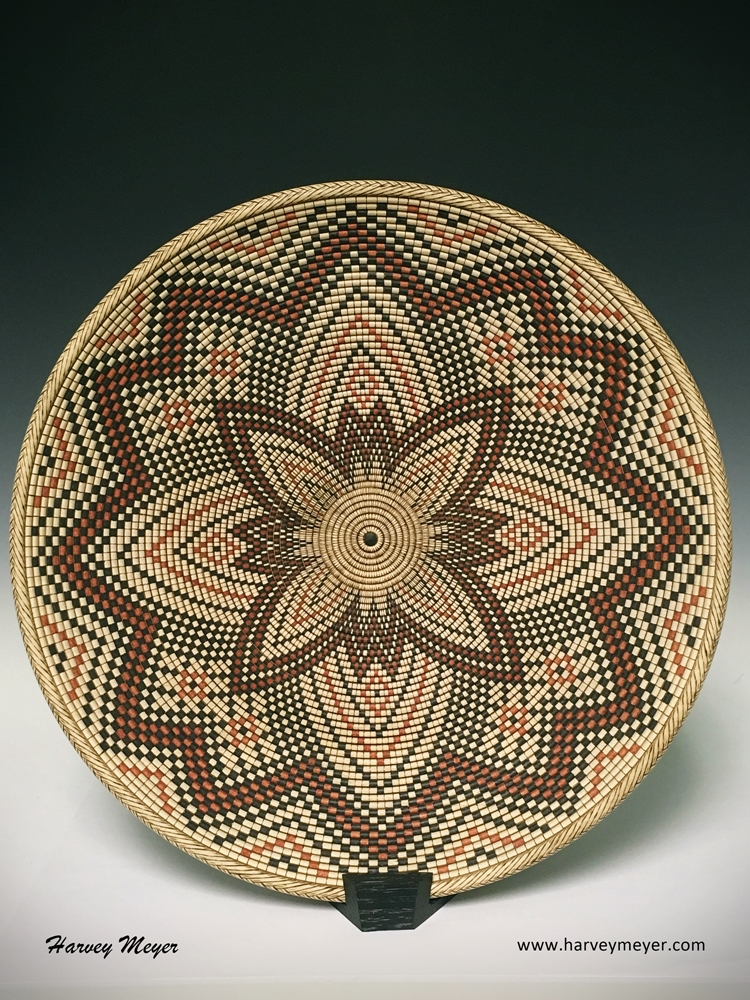
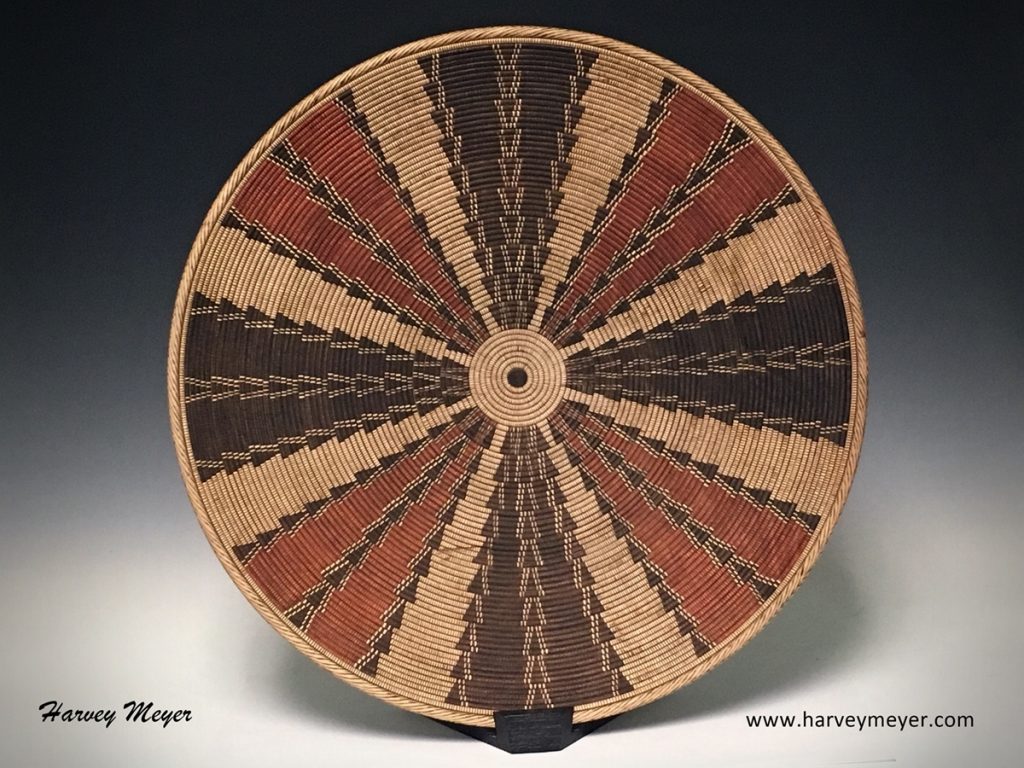
Basket Illusion:
I’m best known for my basket illusion work. I normally do this as a 2 part demo, each part taking about 90 minutes. The total run time is about 3 hours.
The following description is for the 2 part demo:
Basket Illusion Part 1:
In part 1 of the demo, I’ll start out by explaining the overall process. Next, I’ll turn a small platter, about 7-8” diameter. While turning the platter, I cover both sides with 1/8″ beads from rim to center. I’ll explain the beading tool and how it can be used to get perfect beads every time. Then I’ll show 2 ways to quickly burn the valleys between the beads. After that is complete, we’ll reverse the piece to remove most of the tenon, and add a few more beads to the back of the platter.
Basket Illusion Part 2:
We’ll begin part 2 using the dish turned in part 1. I’ll show how I design the “woven” pattern using polar graph paper. We’ll go over some examples and photos and also talk about where to find inspiration for patterns. I will show how to index the piece using my homemade index wheels in order to divide the platter into as many segments needed for the pattern I’m using. In this demo, I’ll likely do 120 segments. Then I’ll start burning the radial lines over each bead. Normally this takes many hours, but I’ll only do a small portion to show the technique. I’ll then switch to the rim of the dish and demonstrate how I burn a weave pattern around the rim. We’ll only do a small portion of the rim. Then I’ll switch to a prepared piece that has all of the burning finished and I’ll show how I dye the “woven” pattern into the wood. The dying/coloring phase will only be partly completed as it also takes many hours for completion. Finally, I’ll discuss how to finish the piece and fix the colors.
Square Platter with or without Beaded Dome Center

In this demo I’ll turn a square platter. First, I’ll ensure the blank is perfectly square and then I’ll find the exact center. I’ll mount the blank and concentrate on the back of the platter. I’ll define a tenon and then shape the back of the platter making sure to have a pleasing convex profile. Then I’ll turn it around, holding by the tenon, to turn the front side. I’ll work from the corners toward the center, being careful to keep all 10 fingers on my hands. I’ll strive to match the profile that I turned on the back. As I get near the center, I’ll turn a small dome and then cut beads on the surface of the dome. When the front side is completed, I’ll reverse once again to remove the tenon and complete the back.
Round Platter
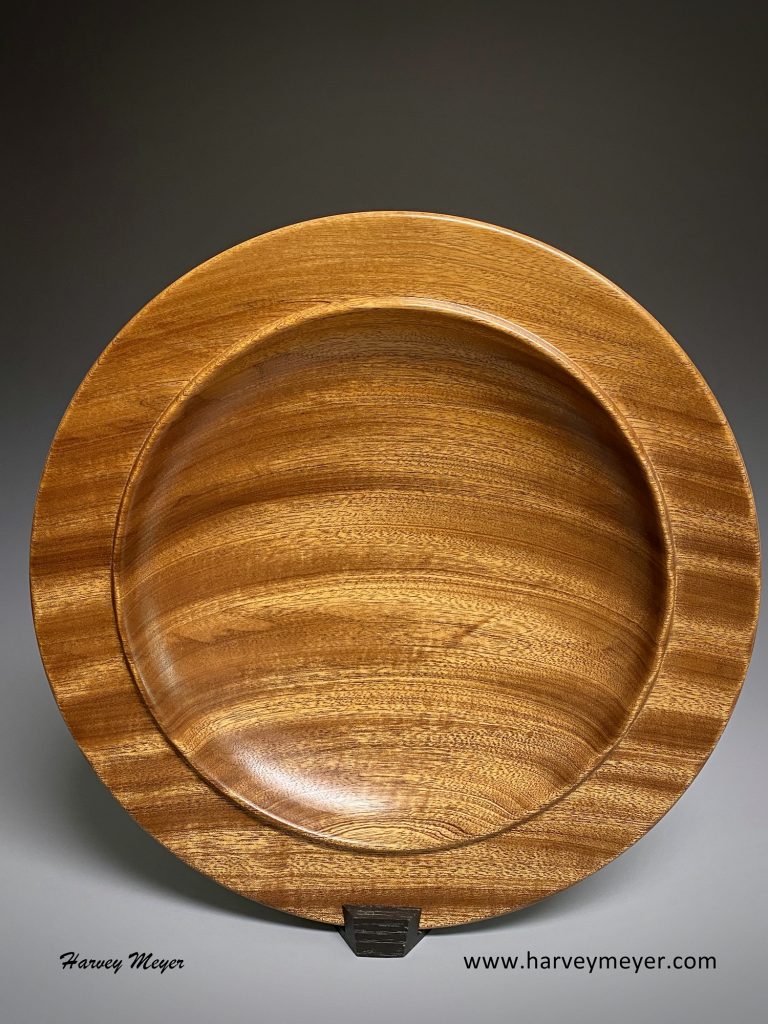
In this demo I’ll turn a round platter. Starting with blank selection and preparation, I’ll move onto mounting the blank, turning the rear of the platter, establishing a tenon, reversing to turn the front, and remounting to remove the tenon. Finishing is also discussed.
Lidded Boxes:
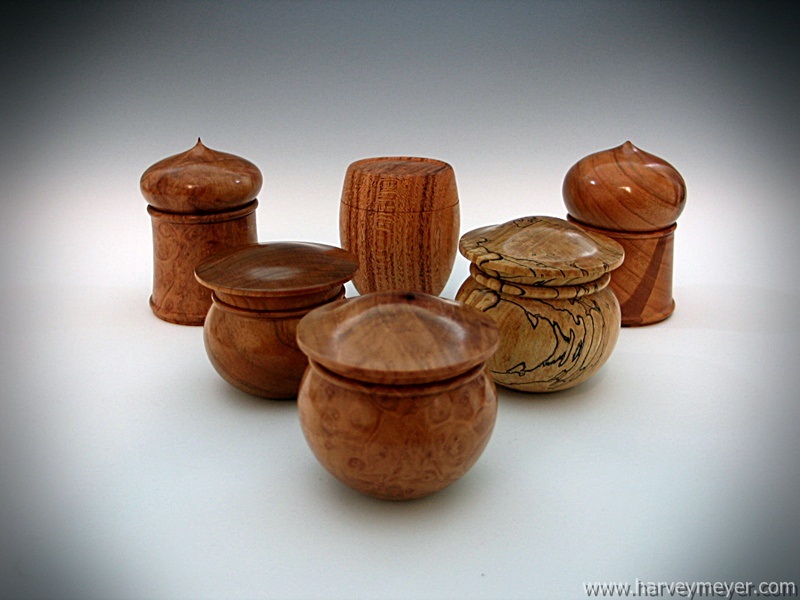
In this demo, I’ll turn a lidded box. Beginning with a 3″ square blank, 4” long, I’ll show how to divide the blank into 2 parts for the lid and body of the box. I’ll begin with the lid first, explaining how I prepare it to fit the body of the box. At this time, I finish the inside of the lid. Attention will then shift to the body of the box where I will fit and temporarily attach the lid in order to finish the top portion. The lid will be fitted to the body with a “turner’s” fit (“pop” when lid is removed) and then eased slightly for everyday use. Then I will shape the body of the box and hollow out the inside to match the shape of the outside. The body of the box will then be reversed so that I can finish the bottom. Finishing techniques will also be discussed.
Pedestal Box:
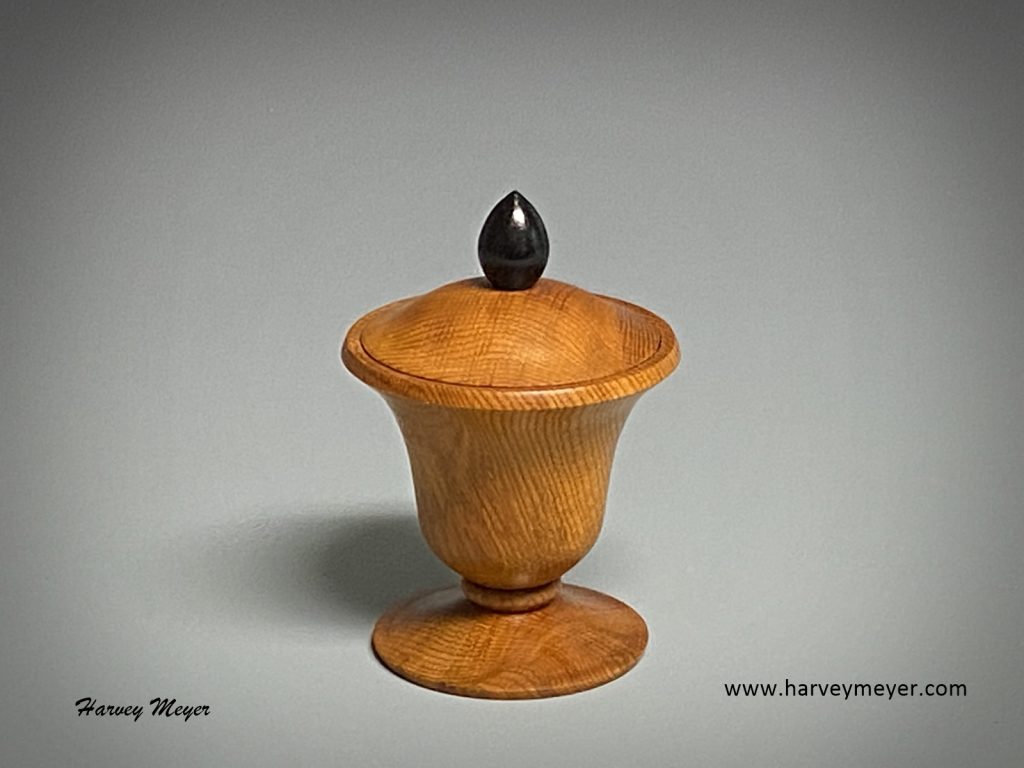
This demo is for the pedestal lidded box. Beginning with a 3″ square blank, 4” long, I’ll show how to divide the blank into 2 parts for the lid and body of the box. Then I’ll round off both pieces and begin to work on the lower part of the box. I’ll establish a few key elements, then move onto working on the lid. After completing the lid, I’ll get back to working on the body: establishing the “tulip” form, hollowing the inside, turning the base, reverse mounting to finish the bottom of the bottom and finally turning the knob for the lid.
Hollow Globe Ornament demo:
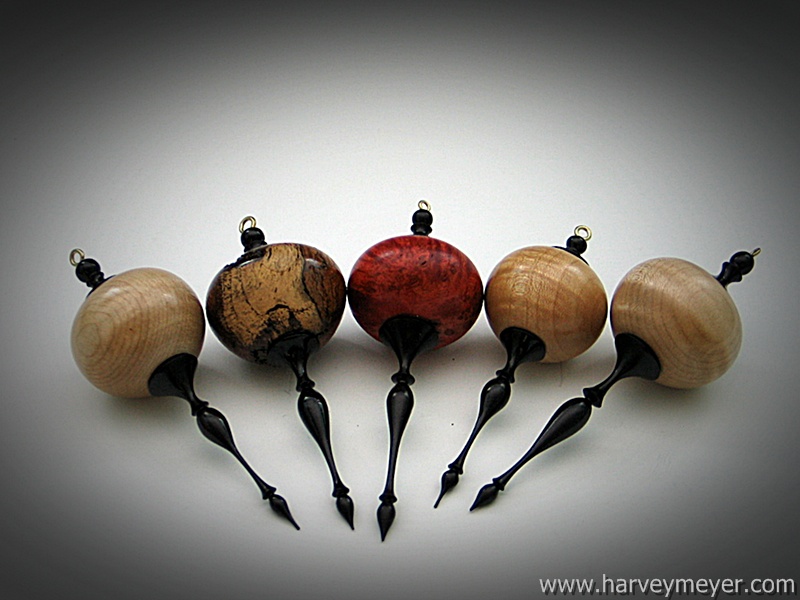
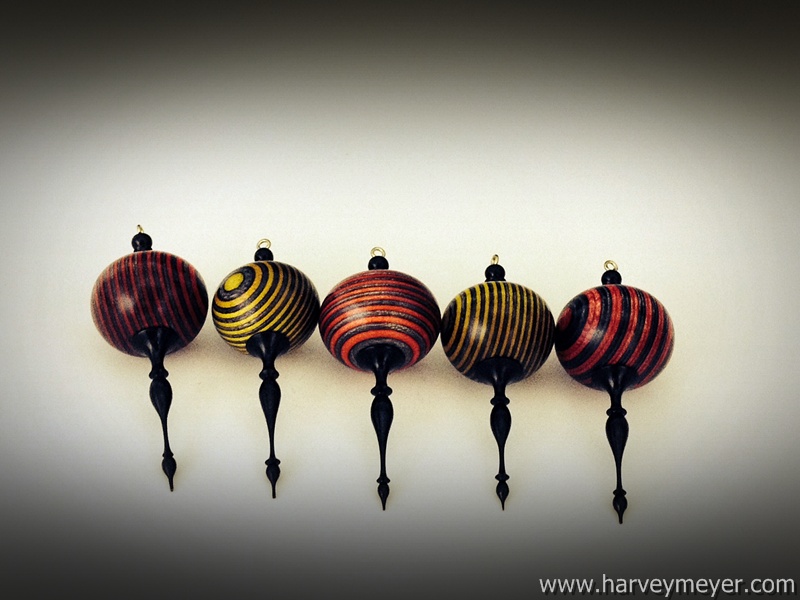
In this demo, I’ll turn a hollow globe ornament with a small finial on top and a thin delicate icicle for the bottom. I’ll start with a small 2X2X2 cube and attach it to a waste block. I’ll partially shape the globe, drill a hole to establish depth, and then hollow out the inside to reduce the weight. After hollowing, I’ll finish shaping the globe and continue drilling the hole until it comes through the other end of the globe. Then I’ll begin turning the icicle. This will be turned from ebony and will be thin and delicate. It will have a tenon that will be glued into one of the holes in the globe. From the remainder of the ebony, I’ll turn a small finial for the opposite end of the globe. The finial will have a small hole drilled into it to receive a small hook. After it’s all glued together. I’ll discuss how I finish these.